Tips on Replacing Your Garage Door Spring
The garage door’s weight is offset by garage door springs, which make it possible to open and close the door by hand or with an automatic opener. When the high-tension steel in the springs wears out and needs replacing, it will be necessary to replace the springs.** Many homeowners prefer professionals because working with springs under tension can be dangerous. If you’re a competent DIYer, you can save money by doing the work yourself and avoiding the need for a contractor.
If you decide to work it yourself, you can follow the steps below. However, if you feel you cannot do it, an expert on replacing garage door springs is just a call away.
Replacing Garage Door Springs Step-by-Step**
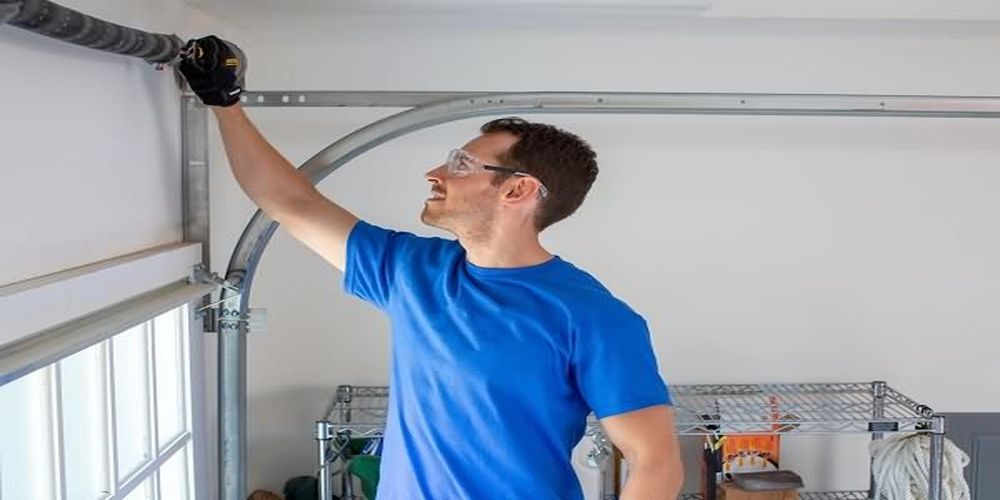
Before working on your garage door, put on safety gear and gather tools. Goggles prevent flying objects. Gloves prevent cuts and burns. Replace the springs. Unplug opener. Whenever possible, clamp the roller. Remove the old springs.
Remove the Old Springs
Loosen the winding cone’s set screws. Insert the winding bar into the winding cone’s lower hole. Hold the winding bar firmly. You’ll feel the spring expand as the screws loosen. 1/4-turn the cone. Insert another winding bar and apply pressure. Keep pressure and remove first winding bar. After removing the winding bar, reduce pressure on the second and allow another 1/4 turn.** Use two winding bars to unwind the spring. Place the second winding bar on the winding cone’s other hole. Turn ¼ at a time to unwind the spring, then move the other winding bar to the next position. Repeat the same action until you release the spring tension. Usually, it will take around 40 ¼ turns to release the tension and unwind the spring completely.
Remove the bolts connecting the spring at the center bracket with a wrench. Then using the same tool, loosen up the cable drums screws. After loosening the set screws and nuts and bolts on the cable drums, you can detach the lift cables and slide the drums off the torsion shaft.
Installing the New Springs**
Check if other parts need replacing. If everything looks okay, then you can start installing the new springs.** Assuming your garage door has two springs, slide the left spring onto the torsion shaft and replace the cable drum. Do the same thing on the other side.
Center the torsion shaft in the bearing plates after replacing the cable drums. Use the removed nuts and bolts to attach stationary cones to the center plate.
Attach a vise-grip to the torsion shaft and reattach the cable to the left cable drum. Drum screws and cable. Repeat on the right drum. Each cable drum must be evenly tightened. Consider the cables as unbreakable guitar strings.
Using winding bars, we’ll tighten the torsion springs. How many turns for best tension? The spring should turn once per foot of garage door length [4 quarter-turns]. A 7-foot garage door needs 28-30 quarter-turns. 8-foot doors need 32-34 quarter turns. Count aloud or get help to avoid miscounting. Overtightening hurts.
Tighten the winding cone set screws once the tension is right. Remove any clamps. If the door stays put when lifted, it’s balanced. The downward motion is tension-filled. Tension lifts. Quarter-turn the balance.
Wrapping Up**
An experienced DIYer with the right tools can replace garage door torsion springs. They should know the risks and take precautions to do the job safely. If you can’t replace your garage door springs, hire a pro like wayne dalton garage door spring experts. Paying a few extra bucks to prevent property damage or injury is worth it.