Printing Your Customized Planner At Home
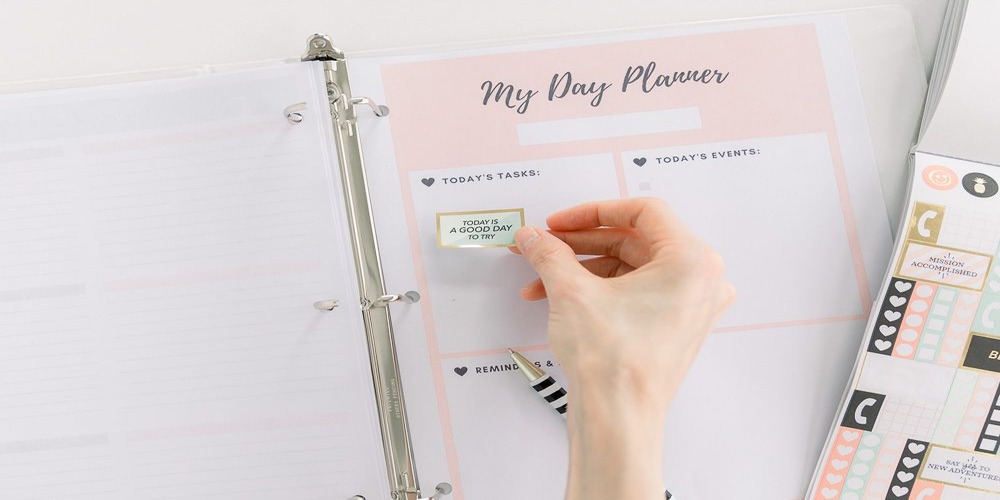
The new year is here, so it’s time to start planning it. If you want a planner that reflects your personality, you can make your own by printing it at home. There are many options for making custom planners: You can print them on plain paper or fancy paper with different layouts and styles—it’s up to you! We’ll show you how easy it is to make beautiful planners in just a few simple steps so that you can start custom planner printing right away.
Make a list of the elements you want in your planner.
To make your planner, you’ll need to make a list of the elements you want. This can include:
The size of the planner
The paper type
A custom layout for your calendar pages (if you don’t want the standard weekly layout)
A cover design
You can add other elements as well, but these are the essentials!
Choose a size for your planner.
It’s important to choose a size that is comfortable to write in. If you’re planning on writing down many notes and ideas, consider the size of your planner.
A smaller one might be better if you carry your planner in your purse or backpack (e.g., A5). This means it will fit nicely without taking up too much space, so it won’t feel bulky when you’re out and about.
However, if you plan on using the larger sizes (e.g., 8.5 x 11), then this will be easier for writing larger sections of text at once—like an entire meal plan! But even though pens don’t write as smoothly on large sheets of paper as they do on smaller ones, they won’t bleed through either; so if there’s no need for high-quality printing, print some colorful stickers instead!
Decide whether you want to use printed or plain pages.
Printed pages are probably your best bet if you’re going for a more low-key, simple planner with no images or designs on the cover. It’s also worth noting that using blank paper from an office supply store will generally be more durable than printer paper bought at a drugstore or grocery store (the latter tend to have fewer pages per ream).
If you want something that looks professional and polished, like if you’re making one for your boss, then plain white sheets might not cut it. You’ll need to invest in higher-quality printing paper like laserjet bond or cardstock. The good news is that this kind of stock is relatively cheap and can also be purchased online at places like Staples and Office Depot; make sure that whatever type of paper you get has enough pages in each ream, so they don’t fall short when printing multiple copies!
Choose a layout for your planner pages.
Once you’ve decided on how many pages to include in your planner, you’ll need to choose the layout.
There are two options:
Use a template. Like this one from Ryobi Nation, you can find plenty of printable templates online that come with pre-designed pages and formats. The downside is that you may have to spend some time tweaking the design or adding elements yourself—but if you’re comfortable with Photoshop or Illustrator and have time for customization, this is an easy way to get started!
Use a blank page. Alternatively, try printing out free blank planners from Etsy sellers like this one by Boundless Courage Studios (which includes handy tips for filling out each day). Then add whatever stickers, quotes, or other decorations suit your needs!
Create and print your planner cover.
Choose a cover that is the right size for your planner. Your cover should be slightly larger than your planner so that you have enough room to fold it over the front and back covers of your planner without leaving any gaps on either side.
Print your cover on heavy cardstock or other heavy paper—the heavier weight will make it sturdier and more durable once it’s bound into a book.
Use a template to create your cover design (or create an original one). If you are using one of our blank templates, fill in all the text boxes using the corresponding text formatting tools available in Microsoft Word or Google Docs.
Print and assemble your planner pages.
First, make sure to read the manual that comes with your printer.
Make sure the paper is loaded correctly, and double-check that it’s not jammed or tangled up inside the printer (a helpful tip: if you have a large stack of paper, cut off one corner of each page, so they’re easier to pull out will save time).
Print your planner pages by setting up the print job exactly as described in your printer’s manual; this usually involves selecting the file type, making sure it’s printed on both sides of the page (if applicable) and then choosing where you want to send it (usually called “output tray”).
Conclusion
And that’s it! You’ve just learned how to make your customized planner. Now, go out there and create something beautiful for yourself or someone else!